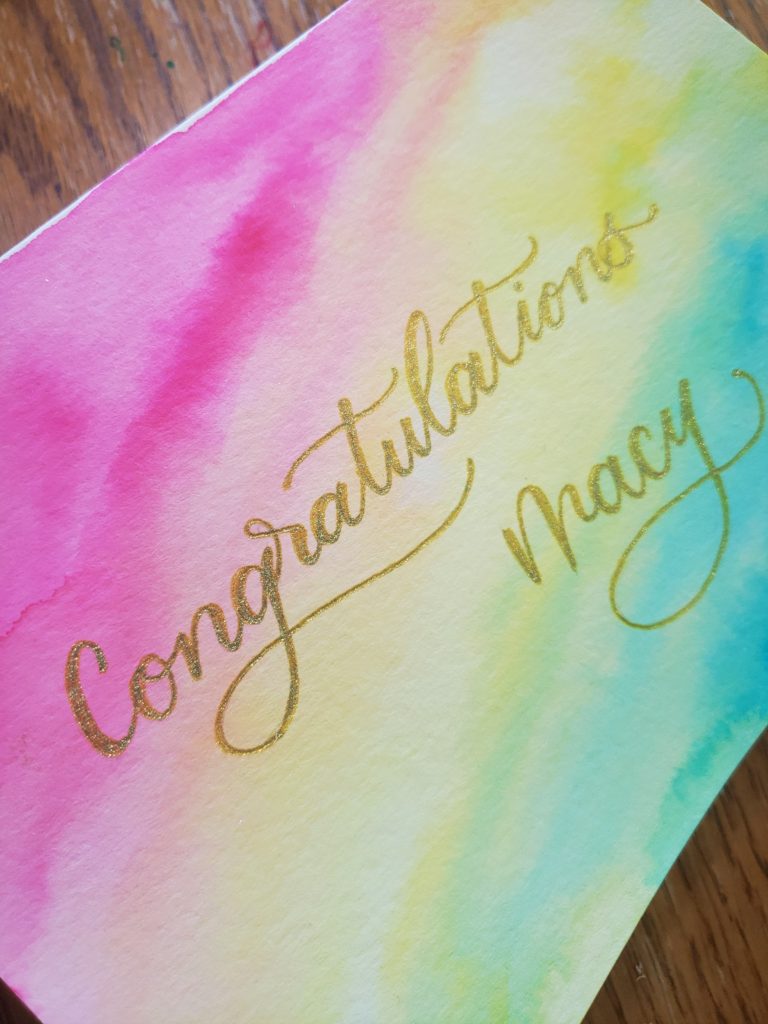
In this post, you will learn how to create a simple and beautiful DIY graduation card.
I am an elementary teacher and my first round of students from when I taught preschool in the area are graduating.
Wow. Do I feel old!
Anyway, you know what that means…graduation parties!
And sure, I could go out and buy them each a card at Target. But I’m an artist, and what fun would that be?
Interested in a simple DIY graduation card to show off your lettering skills? Read on!
Materials for your graduation card
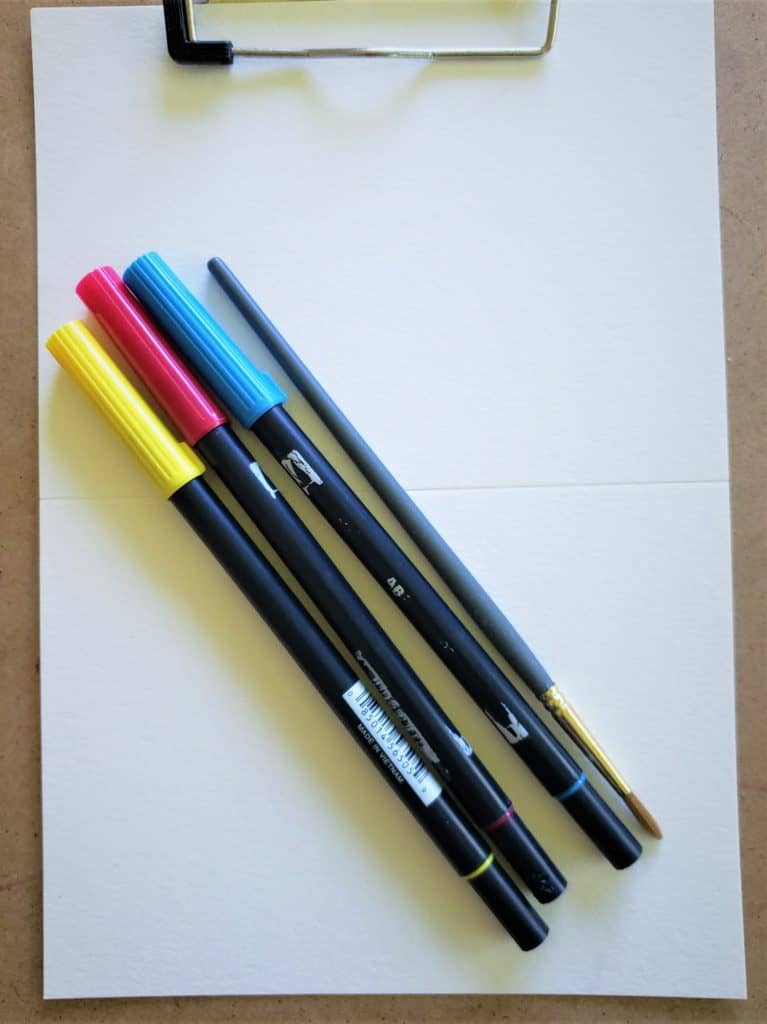
There is nothing mind-blowing about this card, but I wanted something simple and pretty that wouldn’t take a long time to make, because I have several to do. So let’s start with the materials you will need:
- Watercolor paper. I happen to have some pre-made cards with envelopes, but this isn’t necessary. Plain old watercolor paper will do!
- A paintbrush
- Water-based pens OR watercolors
- A pen to write your message. I am using a gold Pentel Sparkle Pop pen for my writing, but any dark pen will do.
5 Simple Steps to Creating Your Graduation Card
Step 1: Add your colors
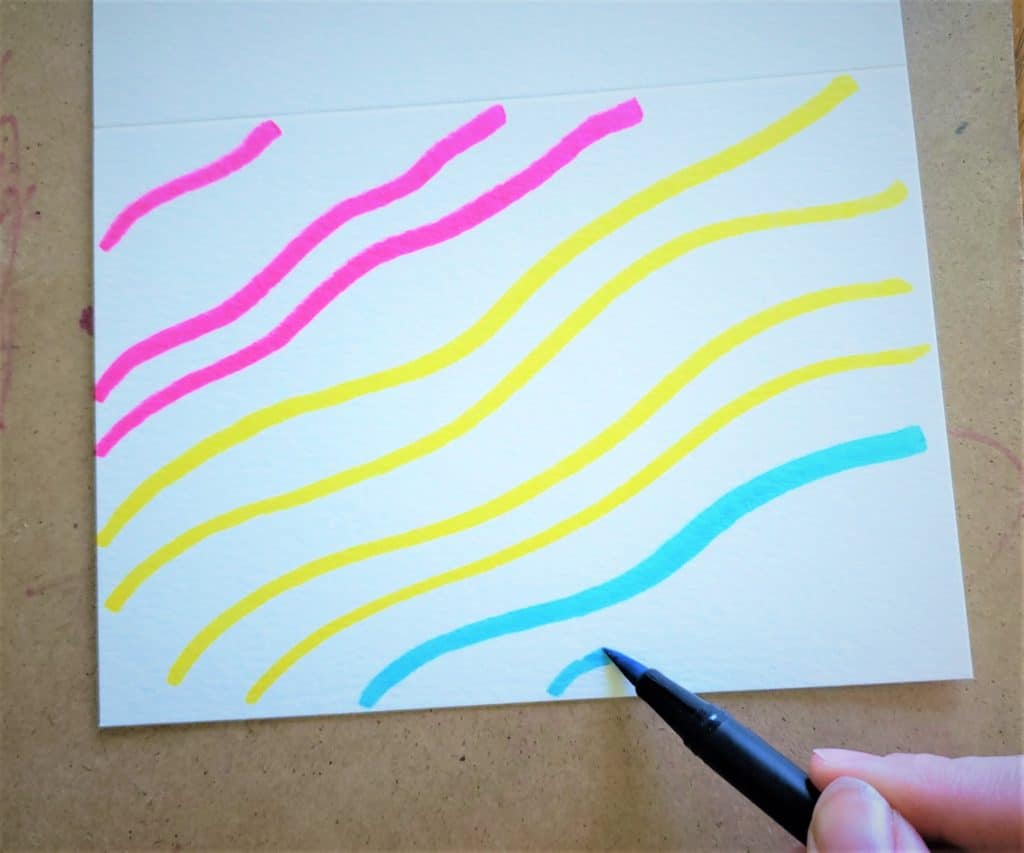
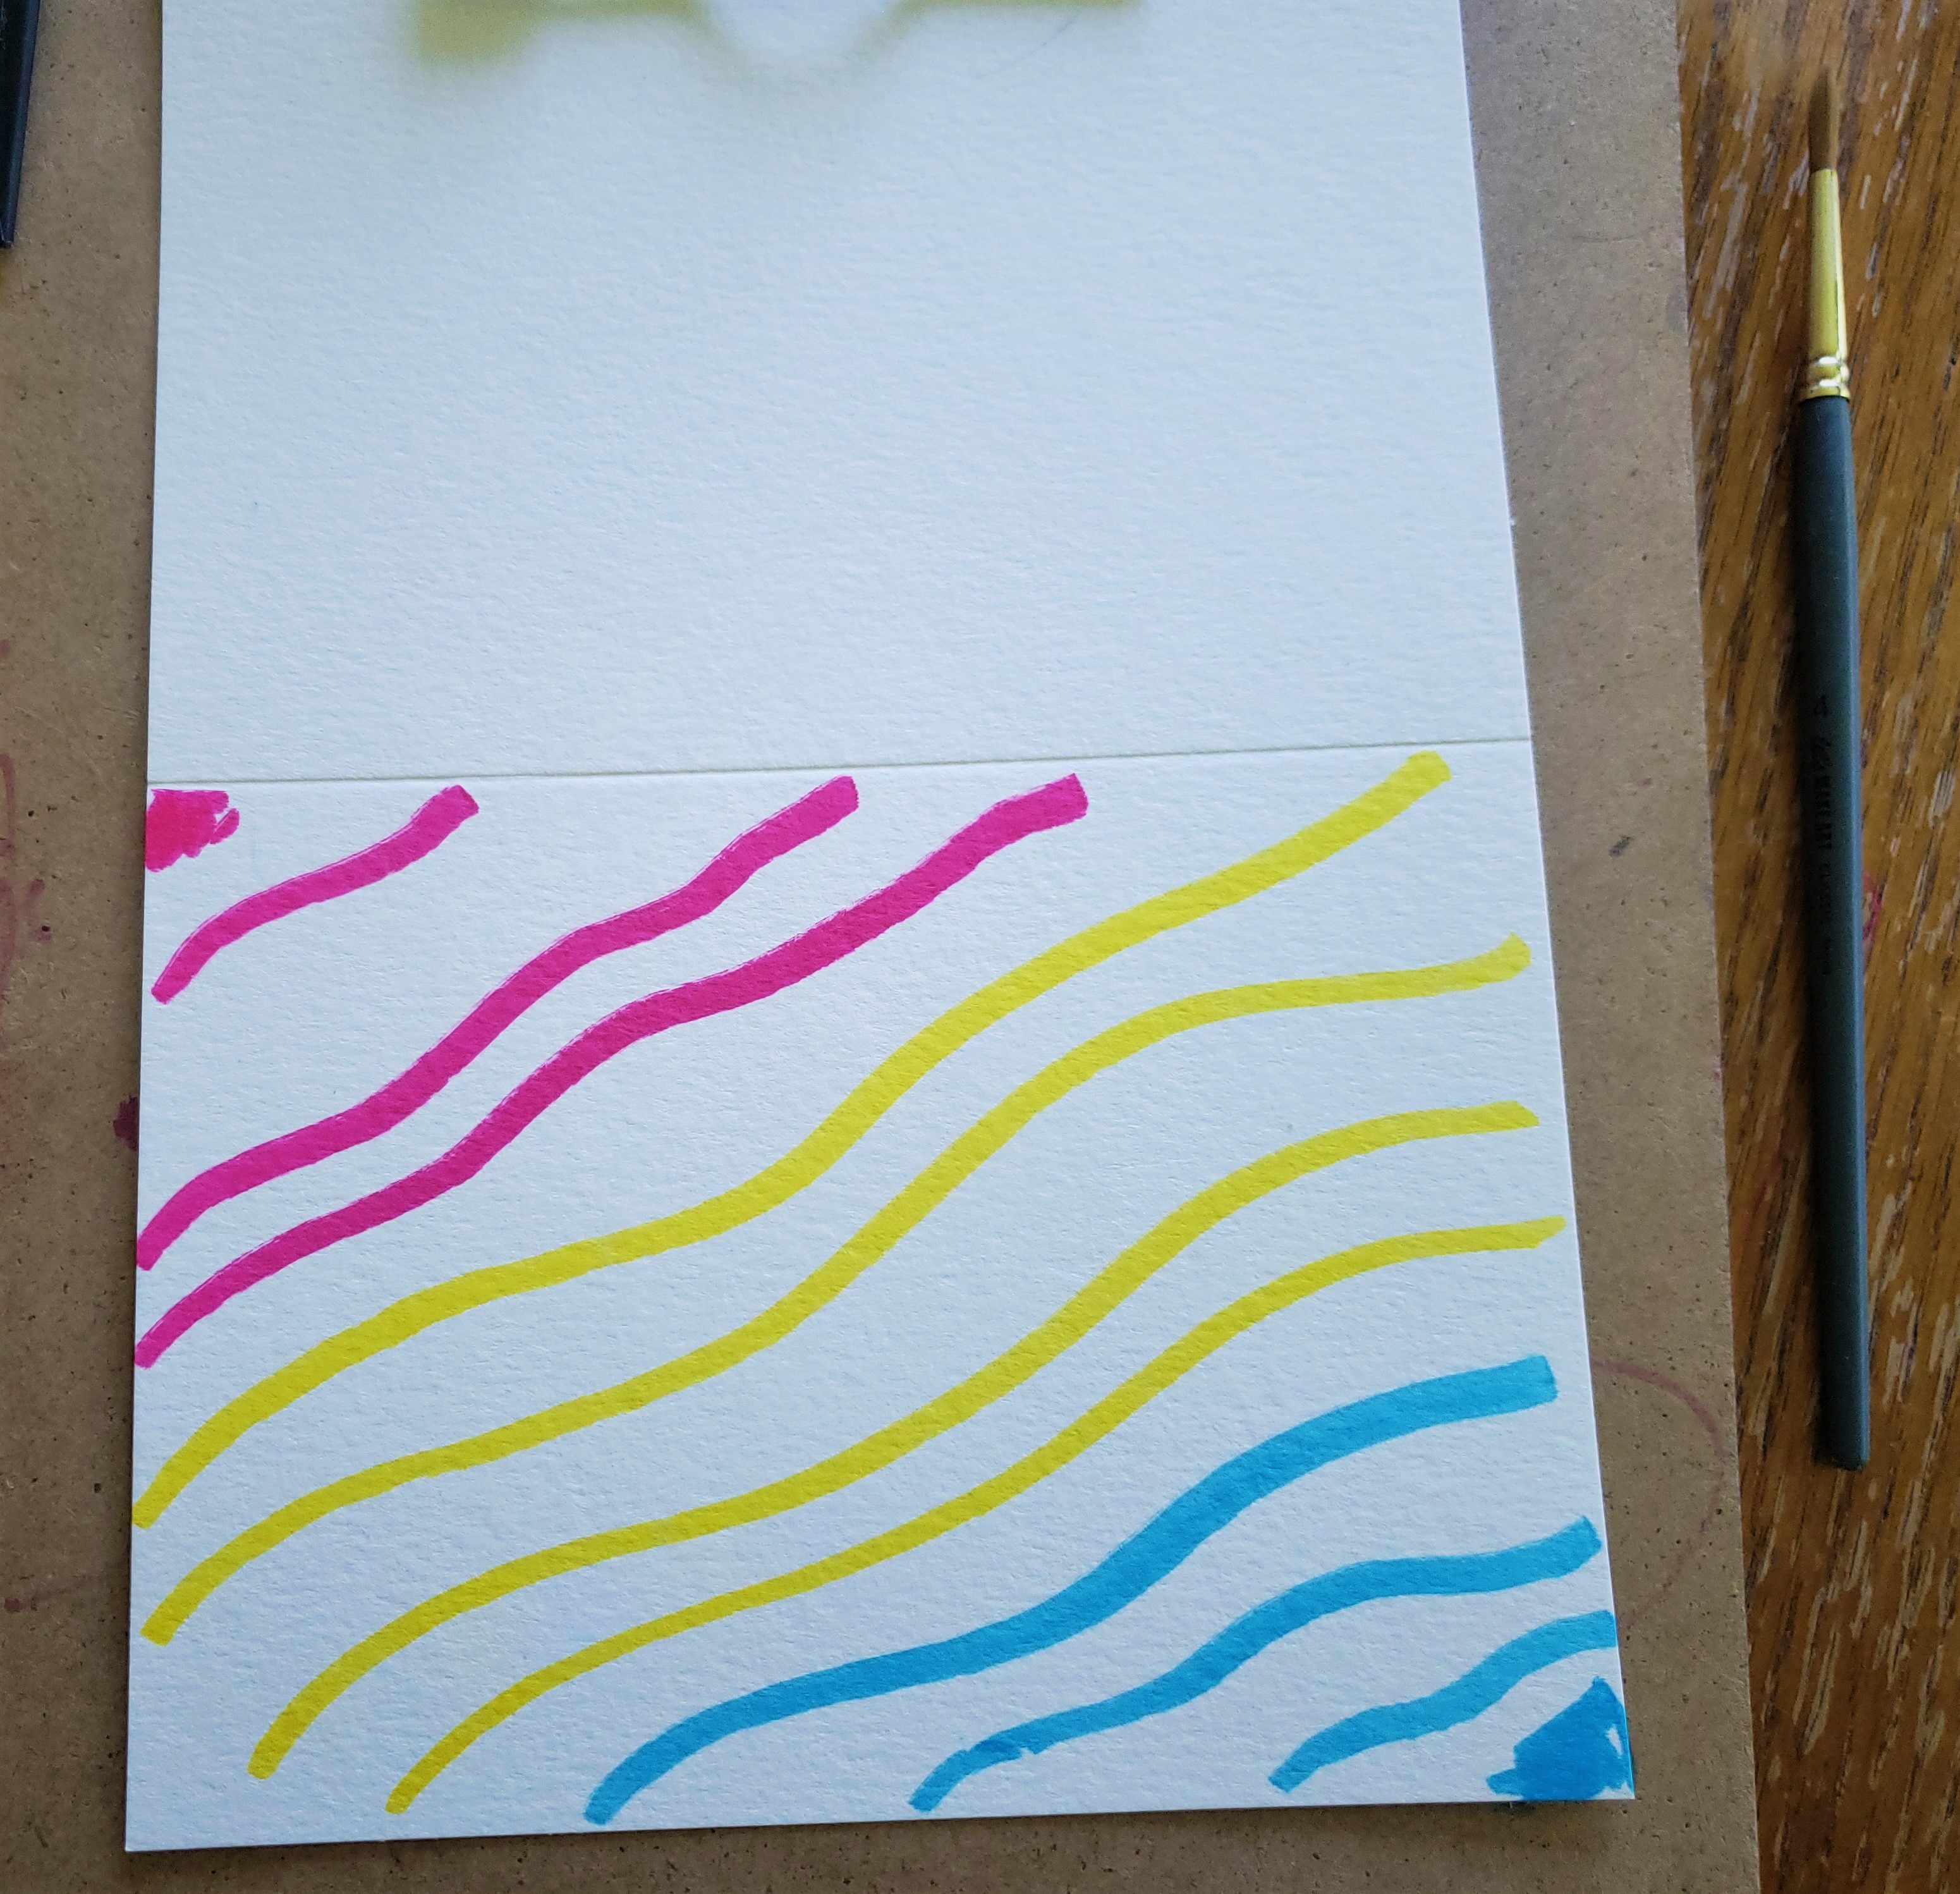
I love rainbows, but you can choose whatever colors you like. Maybe you’d like to use the school colors or maybe you know the graduate’s favorite colors. Whatever you choose, I would either make sure the colors blend well, create white space between the colors, or paint some black in between. One of the reasons I like to use rainbows is for the blending factor.
I used red, yellow, and blue Tombow Dual Brush pens for mine. As you can see, I used each pen and drew a few squiggly lines. If you want a darker wash, draw more lines.
Step 2: Blend
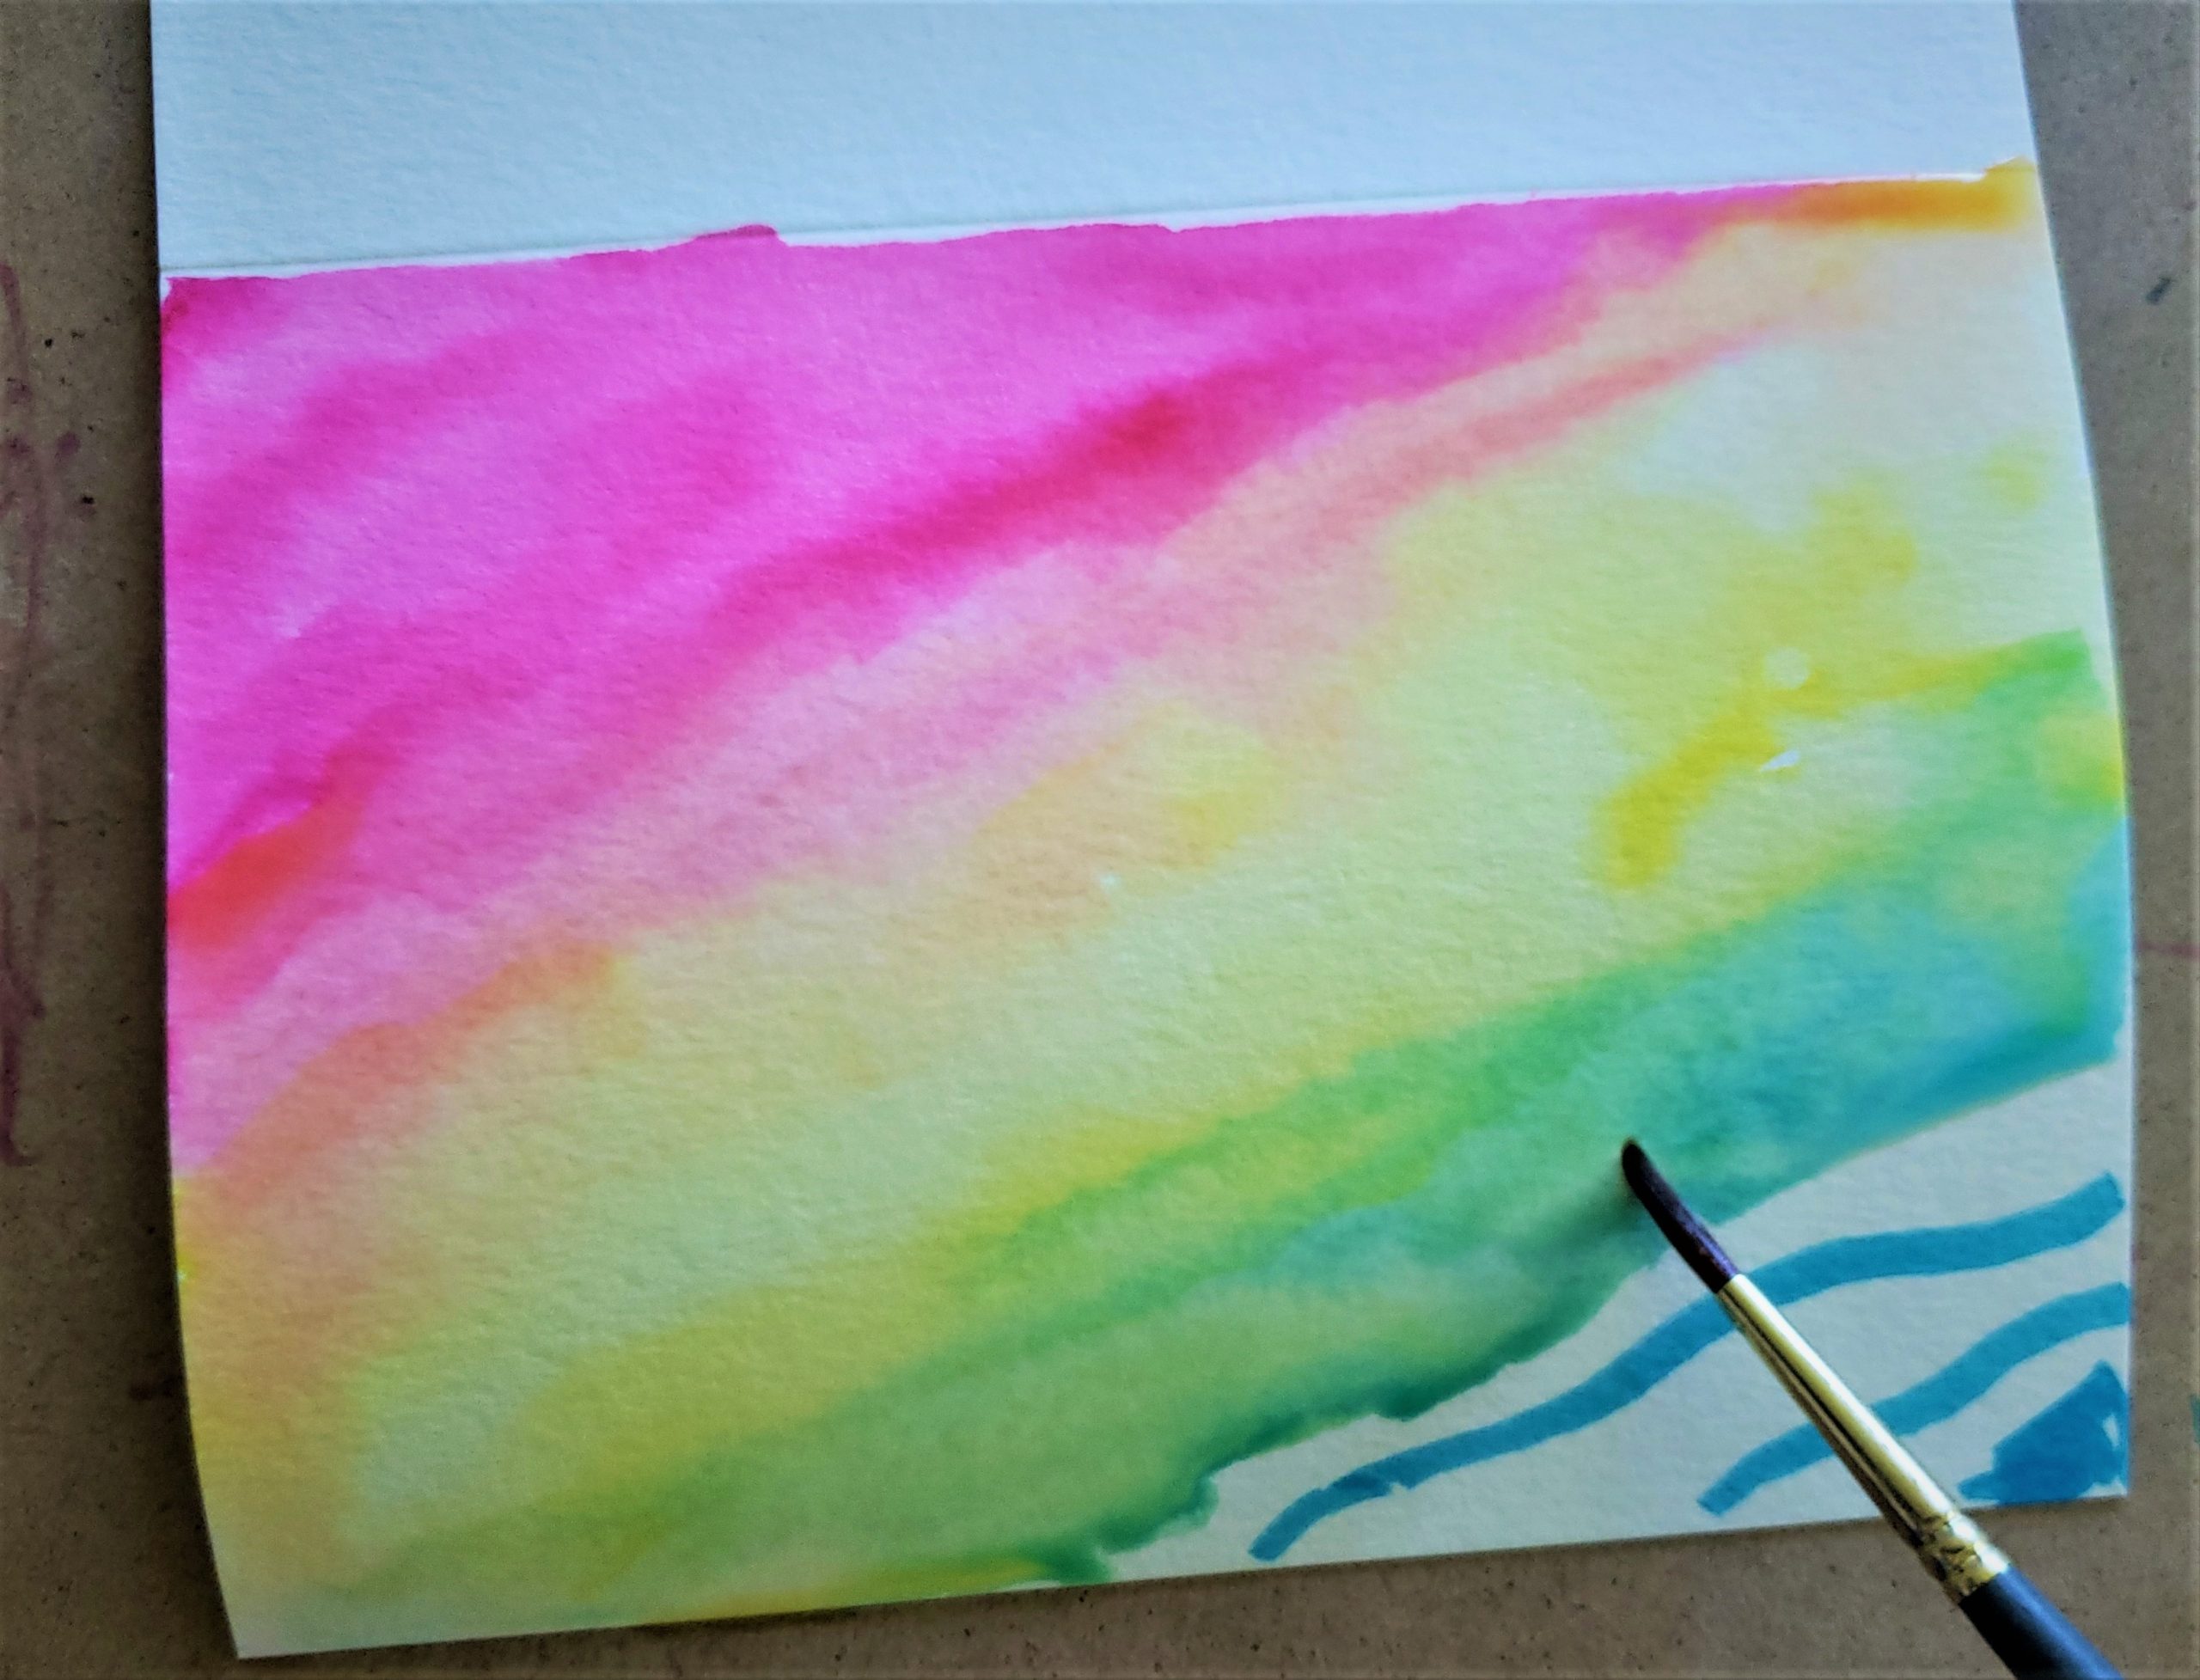
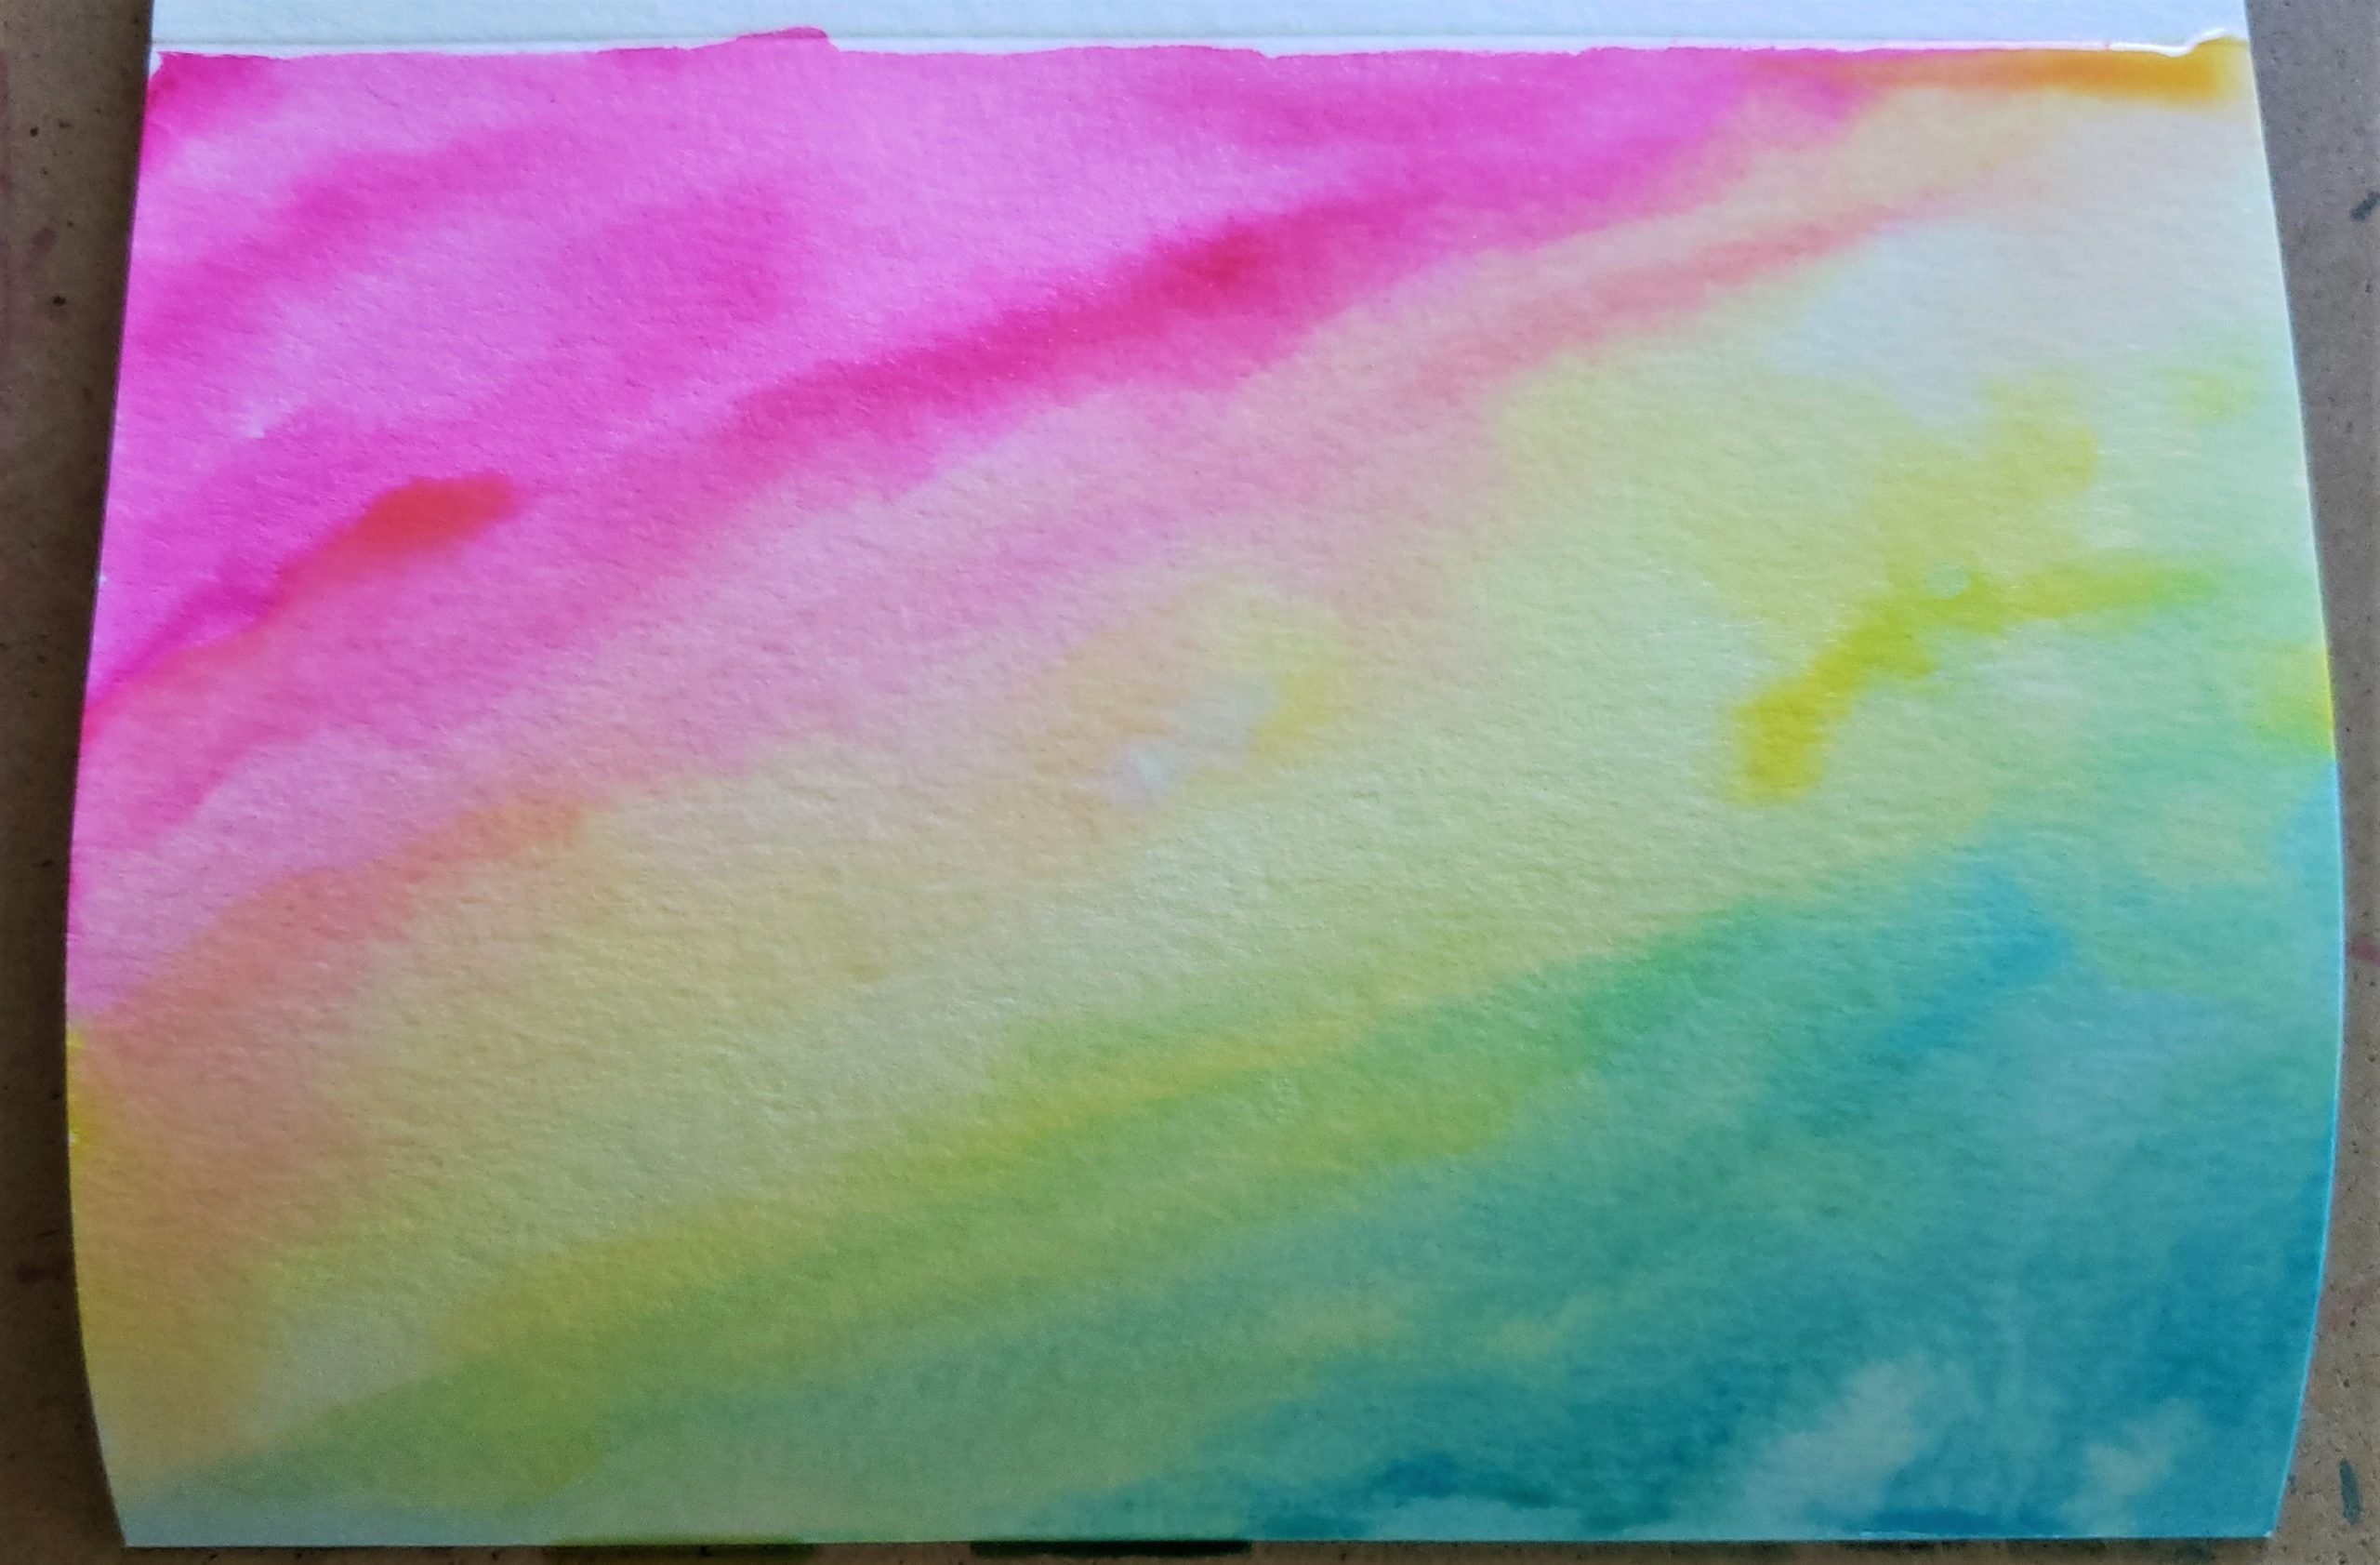
Grab your paintbrush and some water and start adding water to your lines and blending, working from top to bottom. I like adding a lot of water so that it travels around my paper and makes unique designs. The amount is up to you. You can start with a little water and add more as you go.
Notice that as I worked my way down I blended colors together. I was also sure to leave a little of each color on its own, leading to the rainbow of colors. Again, if you chose colors that don’t mix well, say orange and blue for example, you would either want to add some black between the colors, or leave some white space between them, unless you are ok with adding brown to the mix!
Alternatively, you can combine steps 1 and 2 and use watercolor paints for this effect.
Step 3. Add your message
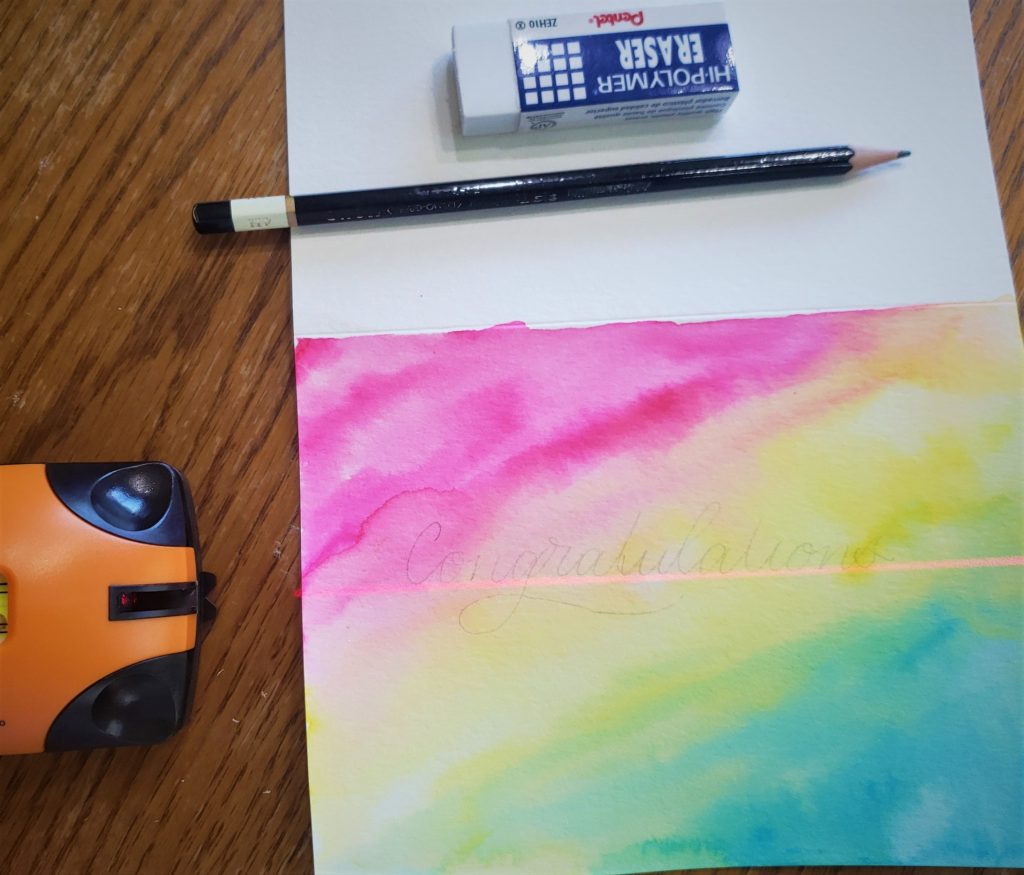

You will want to give your card some time to dry. Once it is dry you may even have to place it between the pages of a book to straighten it out a bit.
Then you will add your message. Notice that I wrote my text lightly in pencil first. I always recommend this if you are giving your projects as a gift or selling them.
What to write? Here are some ideas:
Congratulations!
Congrats graduate!
Congratulations [graduate’s name]
You did it!
Hats off to the graduate!
Today is your day!
The future is yours!
Welcome to your next adventure!
Adventure awaits!
Congrats to a rad grad!!
Ha, ha ok some of those are kind of cheesy, but maybe that’s how you roll. Obviously, you can write something unique to your grad, too. Whatever fits!
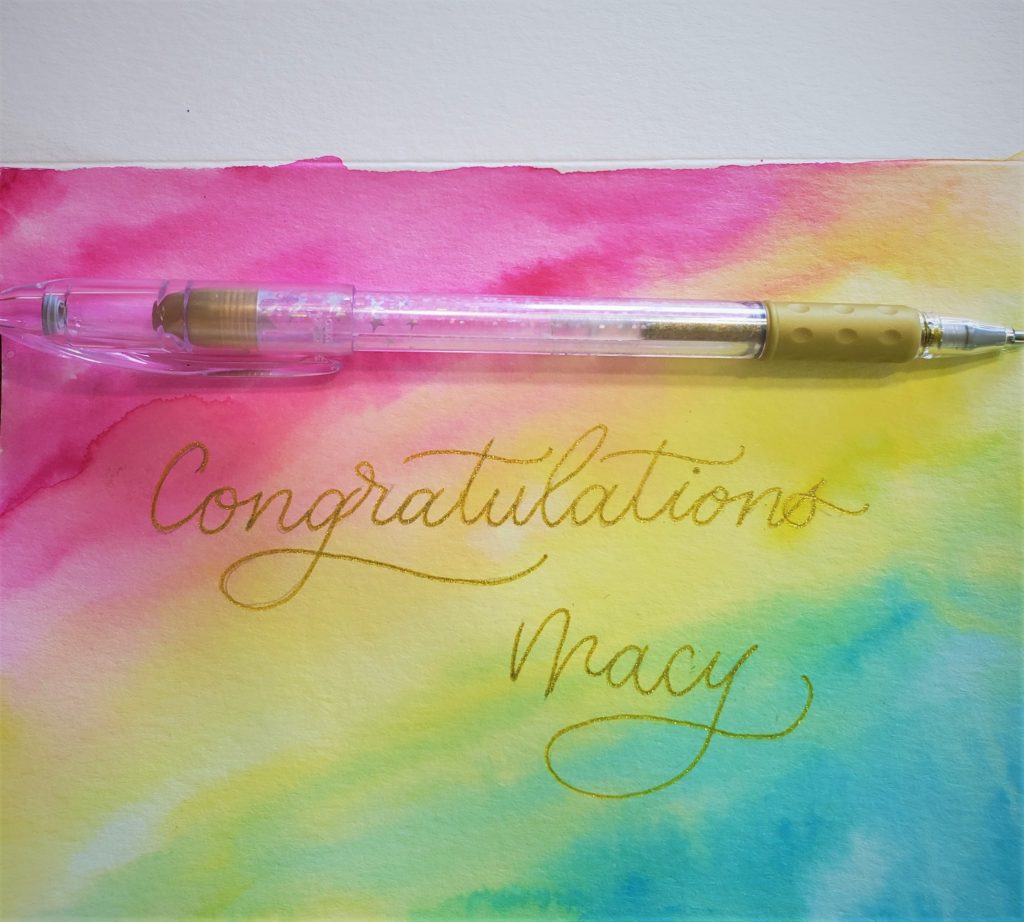
How are you going to letter? Another choice! And it might depend on the pen you are using. I wanted my message in gold, but I don’t have a gold brush pen, so I will be using fauxligraphy. Got a cool brush pen handy? Rock out those awesome hand lettering skills!

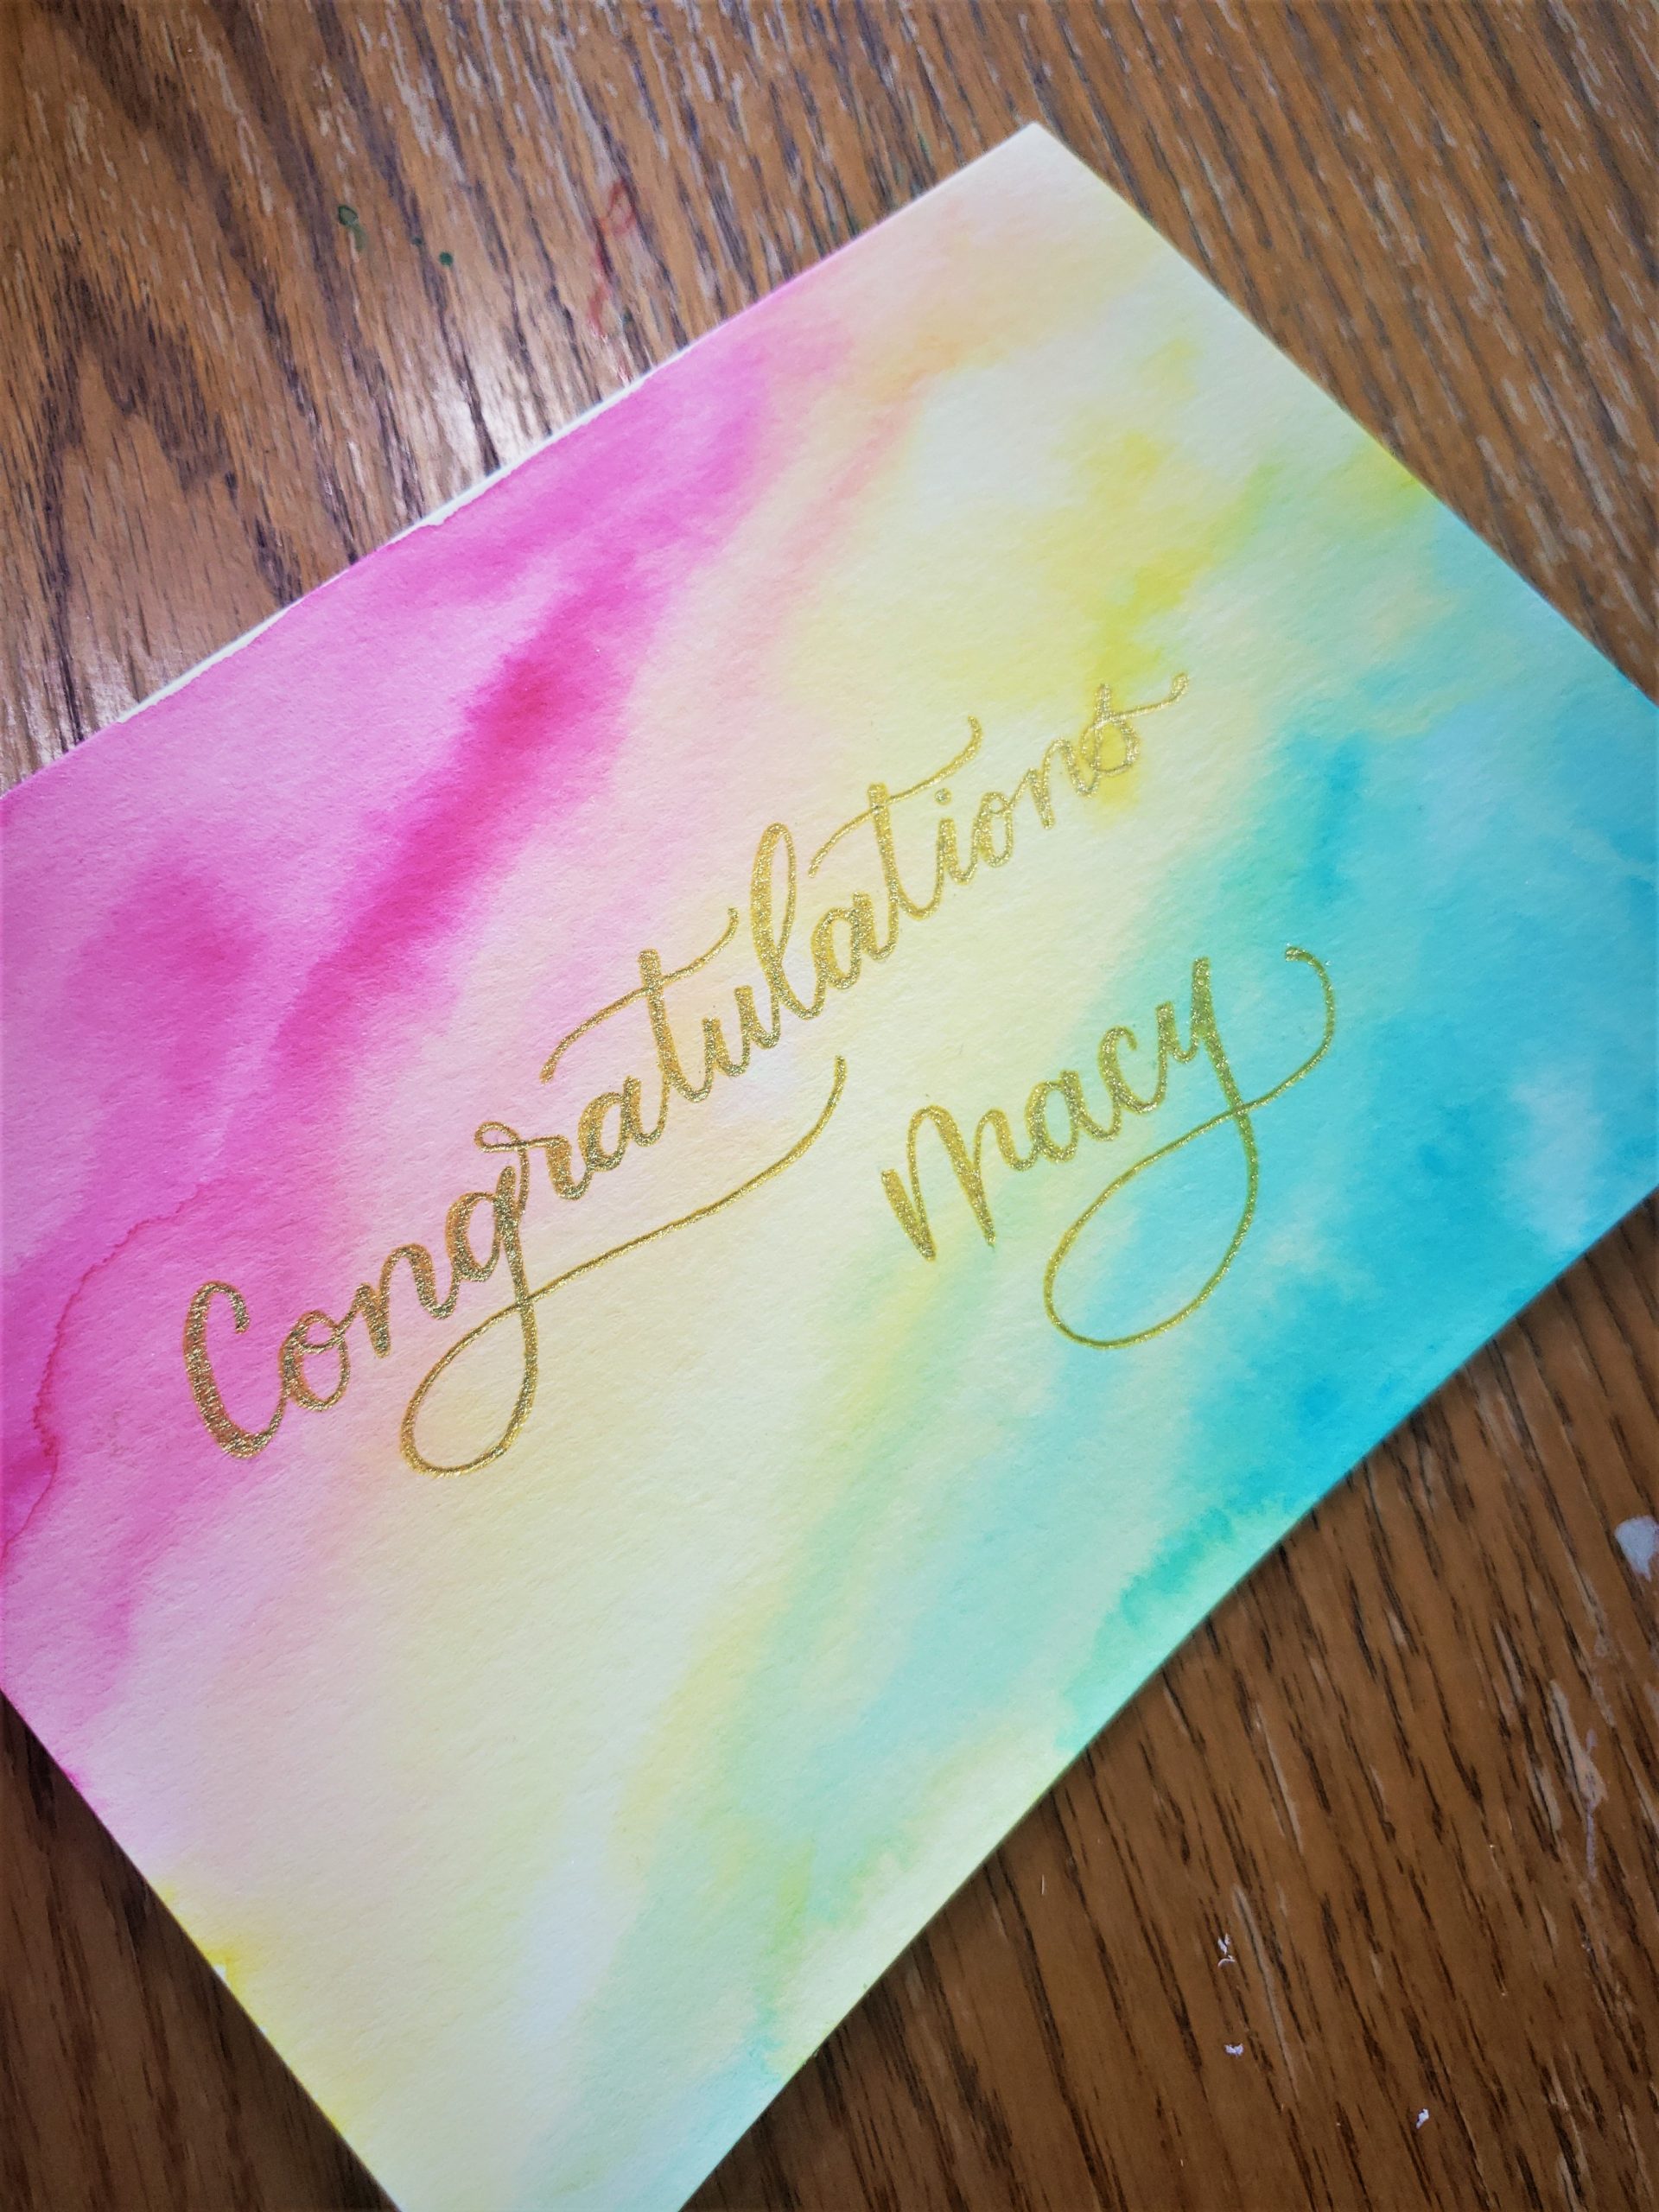
Wait, you don’t know how to hand letter? You’ll want to check out this post next! And if that is the case, you can use any font/lettering style you want. But certainly you can fake it with fauxligraphy. More about that in a future post!

Step 4 (optional): Label the Envelope
Hmmm, you don’t HAVE to do anything fancy here, but why not? If you are on this page, you must like art. So hand letter the grad’s name on the front (they will love it!) and add some doodles.
Step 5: Add some moolah and seal it up!
That’s it!! A simple, yet beautiful and impressive DIY graduation card! And you can jazz it up if you like! Add a doodle and sentimental message or a joke on the inside, create a border around the outside, whatever you like! As I mentioned before, I have several this year, so I’m keeping it simple.
What did you think? Is this something you can do? What other ideas do you have to add to this?
